
How to Build Your First DevOps Lab with AWS CLI – Part 3
- 5.15 Technologies
- Apr 28, 2022
- 4 min read
The New Norm: DevOps and Cloud
DevOps is part of every modern IT organization. Cloud is part of every modern IT organization. Combine those two facts, and you realize you need to know DevOps and cloud to advance your career. And to truly understand them, you need hands-on experience.
In this four-part blog series, you get exactly that: hands-on experience and knowledge of how DevOps works in the cloud.
In part 1 of the series we completed the setup of the AWS CLI. In part 2 we configured Putty and the AWS EC2 (Elastic Compute Cloud) instances. In part 3 we turn to setting up Jenkins and Ansible.
Ansible and Jenkins in a Nutshell
Ansible is a fairly simple automation tool that allows for deployment, configuration, and even provisioning. Ansible uses modules to perform its tasks, and there are a ton of them. You can find a list of those modules in the Ansible User Guide. These modules help integrate with different systems and tools, one of those being Docker. We will be using the Ansible Docker module to create a Docker machine on our node instance.
Jenkins, the other piece of this puzzle, is used for automating this process. Jenkins has a lot of integrations as well, but those are done through plugins. There are a lot of default plugins that can be installed when you setup Jenkins. We won’t be leveraging any plugins in this series, but I highly recommend looking at some that are out there. What we will be making use of is a Jenkins pipeline to test everything is working as expected.
Setting up Jenkins and Ansible on the Master Instance in AWS EC2
The following steps will walk you through configuring Jenkins and Ansible on the Master instance in AWS EC2 to start the DevOps portion of the lab build. Jenkins is a fairly straight forward setup that has some prerequisites before you get it up and running. Ansible on the other hand is a little trickier if you aren’t familiar with SSH as that is how Ansible authenticates to the remote machines.
Note: Ansible can use other authentication methods, but we won’t be covering them in this series.
Step 1: Login to the Master instance with the "ubuntu" user - The Master instance is where we will be doing all our work.
Step 2: Run through commands to install Jenkins
a. Get the Jenkins authentication key and add it to the list of keys used by apt to authenticate packages.
Note: apt is short for “Advanced Packaging Tool”, Ubuntu’s software package management utility used for installing software.
wget -q -O - https://pkg.jenkins.io/debian-stable/jenkins.io.key | sudo apt-key add -
b. Add Jenkins source to the apt list.
sudo sh -c 'echo deb https://pkg.jenkins.io/debian-stable binary/ > /etc/apt/sources.list.d/jenkins.list'
c. Update and upgrade apt to make sure it uses the new source when installing Jenkins.
sudo apt-get update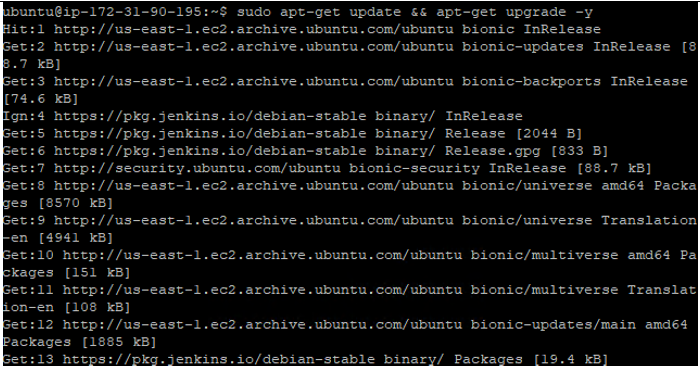
d. Install Java as a prerequisite for installing Jenkins.
sudo apt-get -y install openjdk-8-jdk
e. Install Jenkins.
sudo apt-get -y install jenkins
f. View the contents of the InitialAdminPassword file for further steps
sudo cat /var/lib/jenkins/secrets/initialAdminPassword
Step 3: Connect to the Jenkins web interface
Use a web browser to connect to the Jenkins web interface via http://[publicIP]:8080, replacing [PublicIP] with the IP address of your Master EC2 instance.
Step 4: Input the password from the file in step 2f

Step 5: Install all suggested Plugins

Step 6: Create Jenkins admin account and continue to the Jenkins web interface

Step 7: Run through commands to install Ansible on the Master instance
a. Add Ansible apt repository.
sudo apt-add-repository ppa:ansible/ansible
b. Update apt so that it can make use of that new repository.
sudo apt update
c. Install Ansible.
sudo apt-get install ansible -y
Step 8: Configure a new Ansible inventory file
a. Be sure to replace the IP address shown here under File Contents with the IP address for your Node EC2 instance.
Command | cd /etc/ansible
sudo vi inventory |
File Contents | [nodes] 172.31.89.200 |
Image |  |
b. Make sure that the inventory is being read correctly.
ansible-inventory --list -i inventory
Step 9: Create SSH keys
NOTE: Do not put a password in when prompted to do so. If you do, you will not be able to automate the Jenkins deployment as it will ask for you to input a password when Ansible does an SSH connection to the Node.
ssh-keygen
Step 10: View the contents of the public key and copy it to an external text editor
cat ~/.ssh/id_rsa.pub
Step 11: Login as the Jenkins user
sudo su -s /bin/bash Jenkins
Step 12: Create an SSH Key for Jenkins User
Note: Again, do not include a password when prompted.
ssh-keygen
Step 13: View the contents of the public key for the Jenkins user and copy it to an external text editor
This is needed as the Jenkins projects are run under the Jenkins user. The Jenkins user is the user making the initial SSH connection to the Node for the Ansible playbook.
cat ~/.ssh/id_rsa.pub
Where do we go from here?
In the next and final blog of this series, we will cover the configuration of the Node instance. We will also cover some tests that can be run to verify everything is working as expected. The Node instance has far less steps in its configuration, but it is the most important part as it runs the Docker containers where our applications are deployed and tested. Check out the final part if you want to see how it all comes together!
Still have questions or want to discuss DevOps, Automation, or Cloud further? Setup a meeting with us to see how we can help by clicking here.
Comments